My first attempt at dry aged rib-eyes

muebe

New member
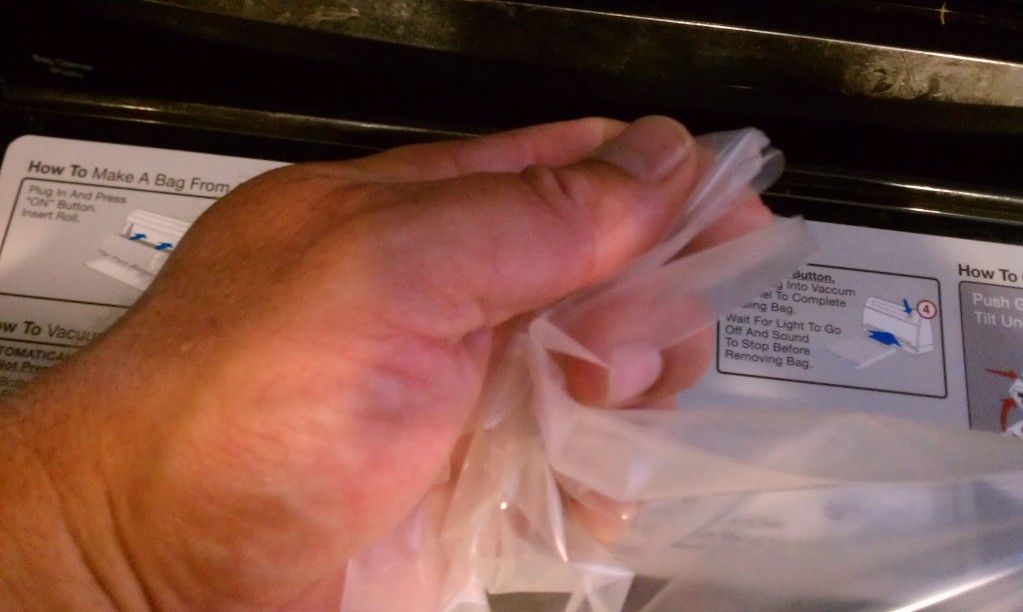
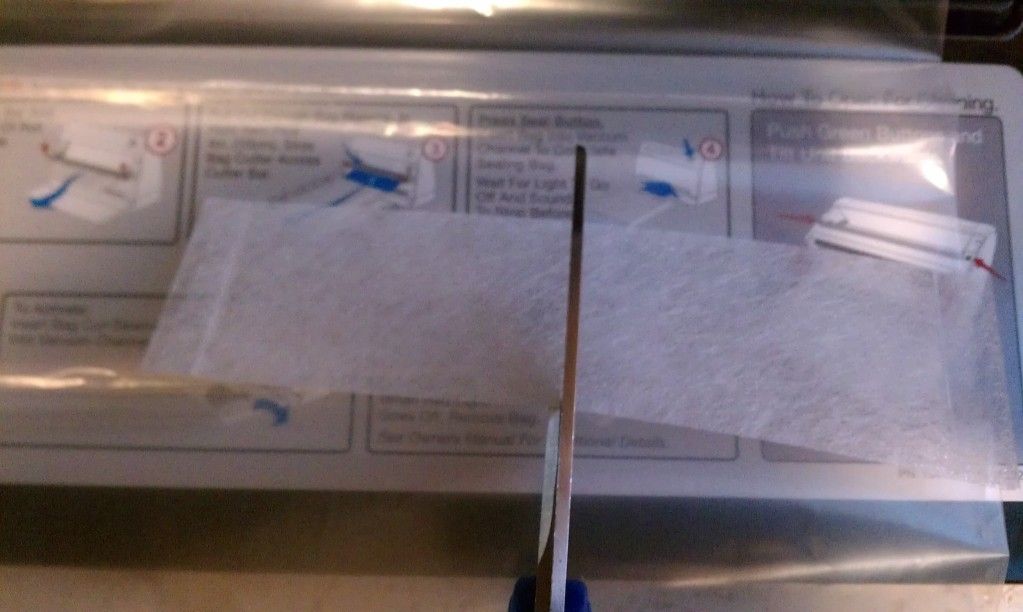
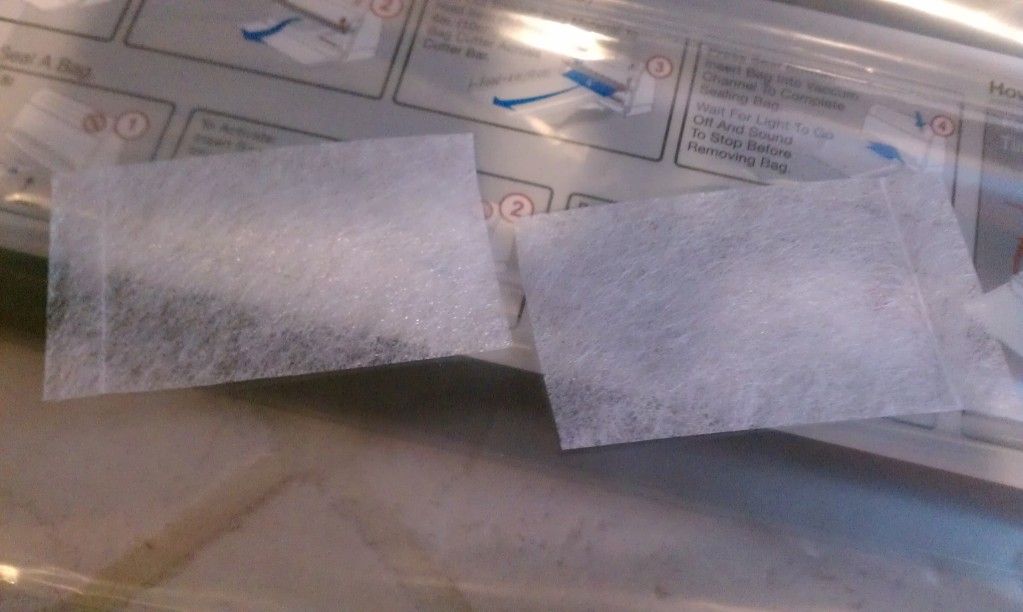
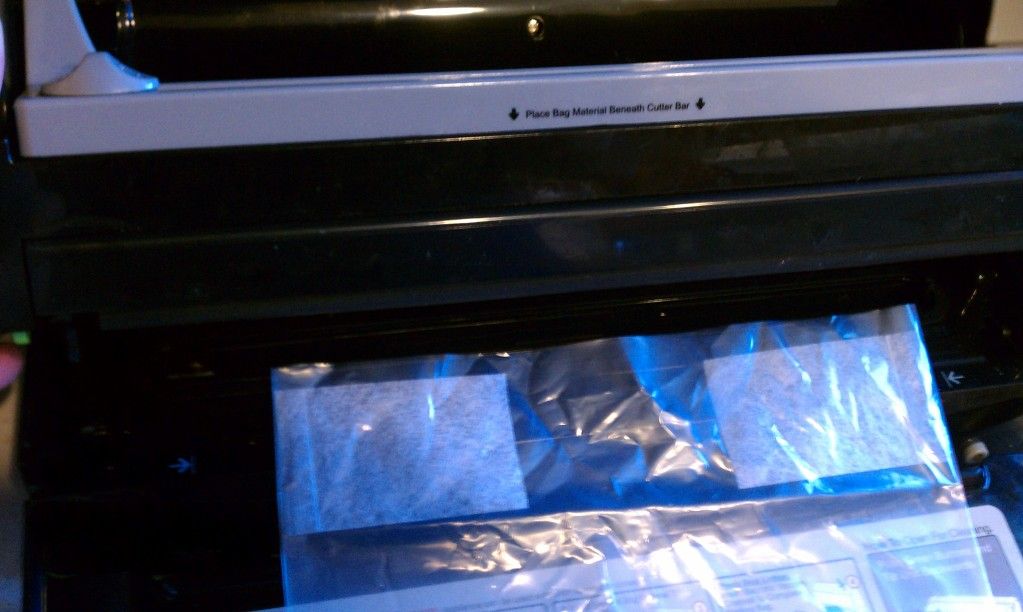
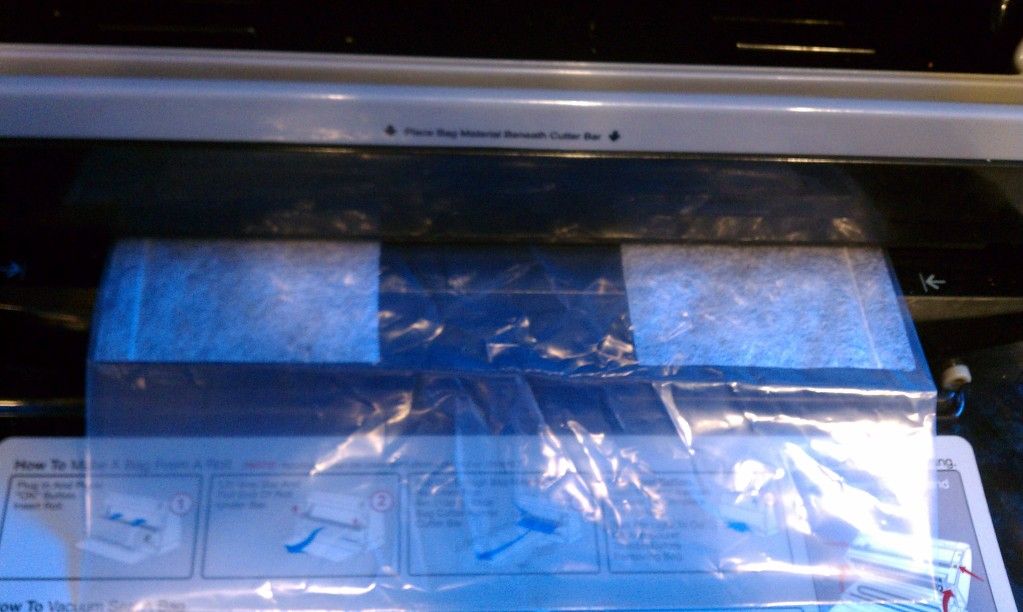
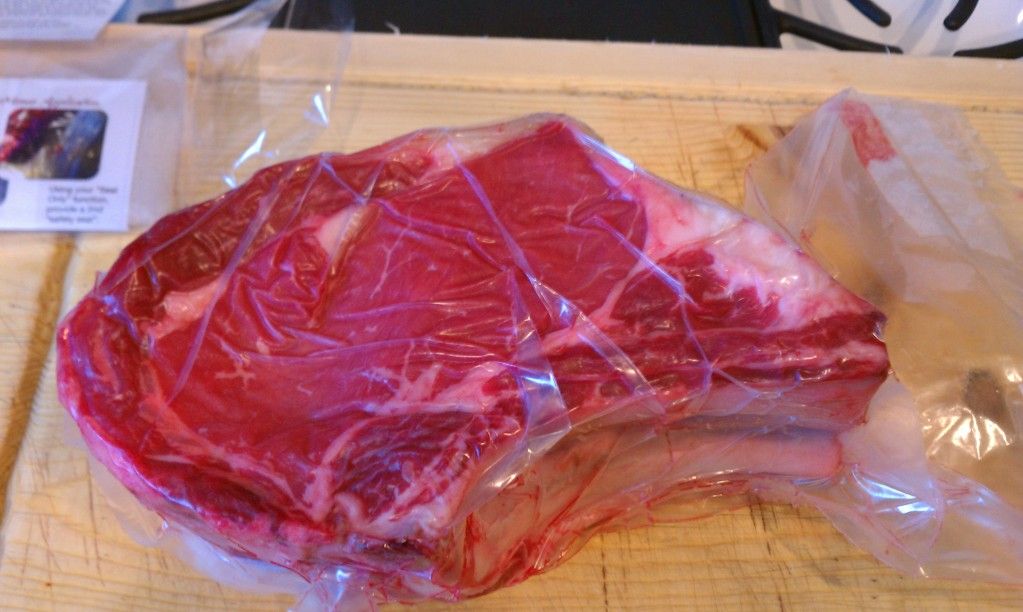
So I was introduced to dry aging bags by another member and thought I would give them a try. It was my first time out so I did not want to ruin an expensive large roast so I started with a 4lb bone-in rib-eye roast. I had to file down the edges of the bones so the bag would not tear(they are thin). And because I have the upright food saver I had to use these special fabric inserts to get a proper seal...

IMAG2274.jpg


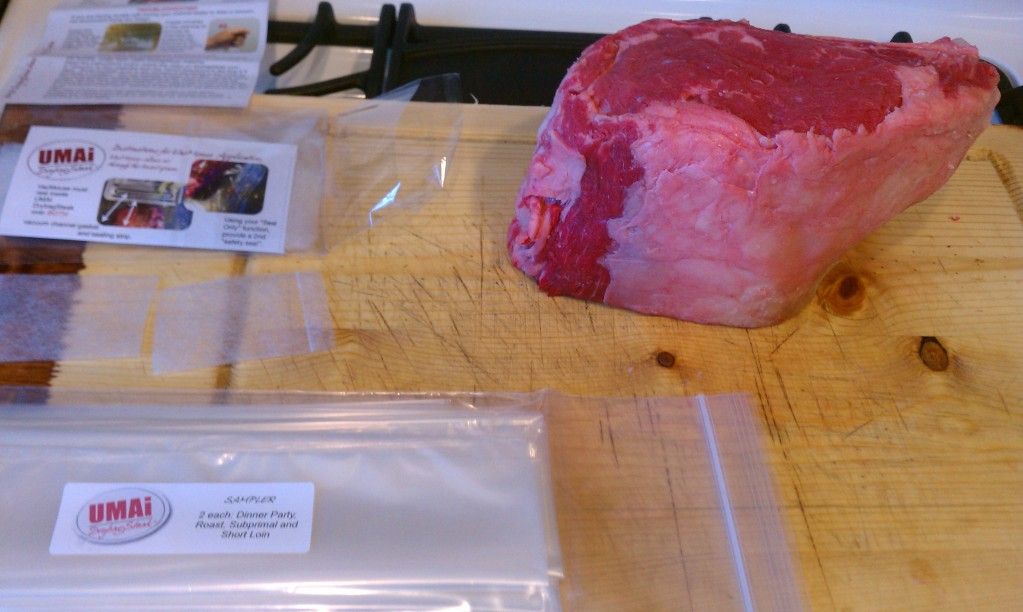
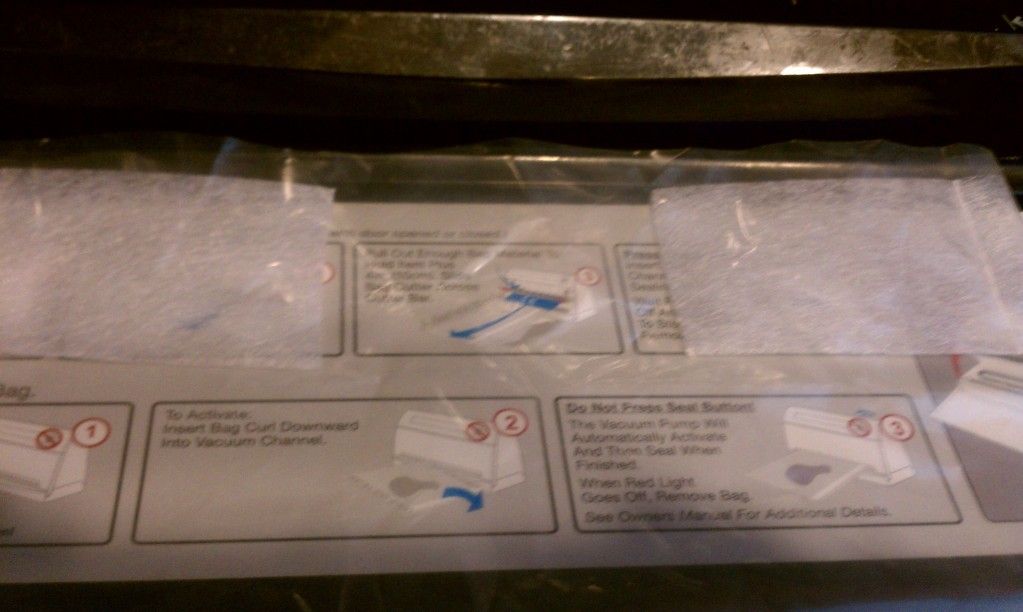
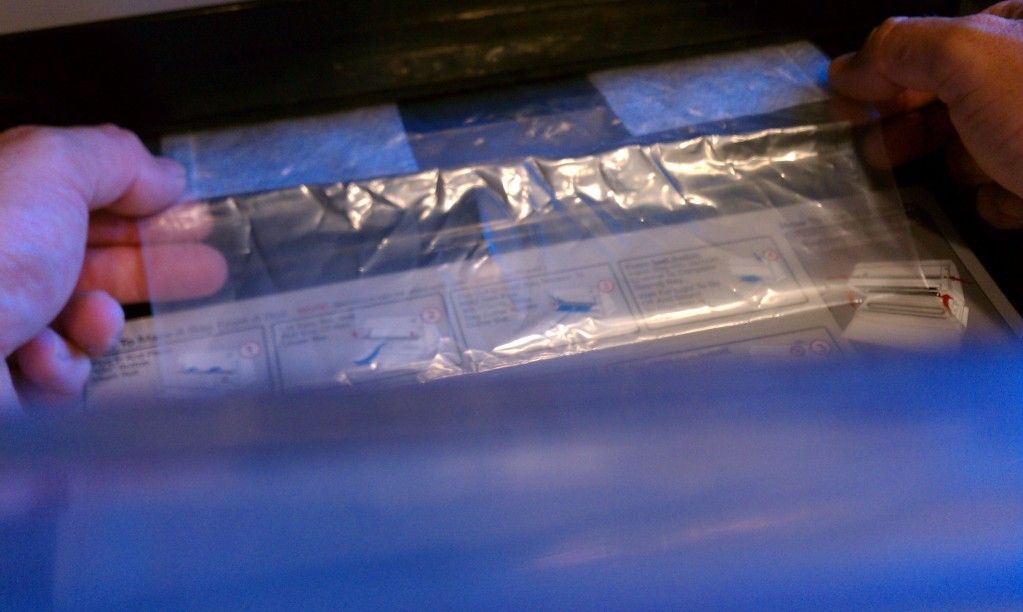
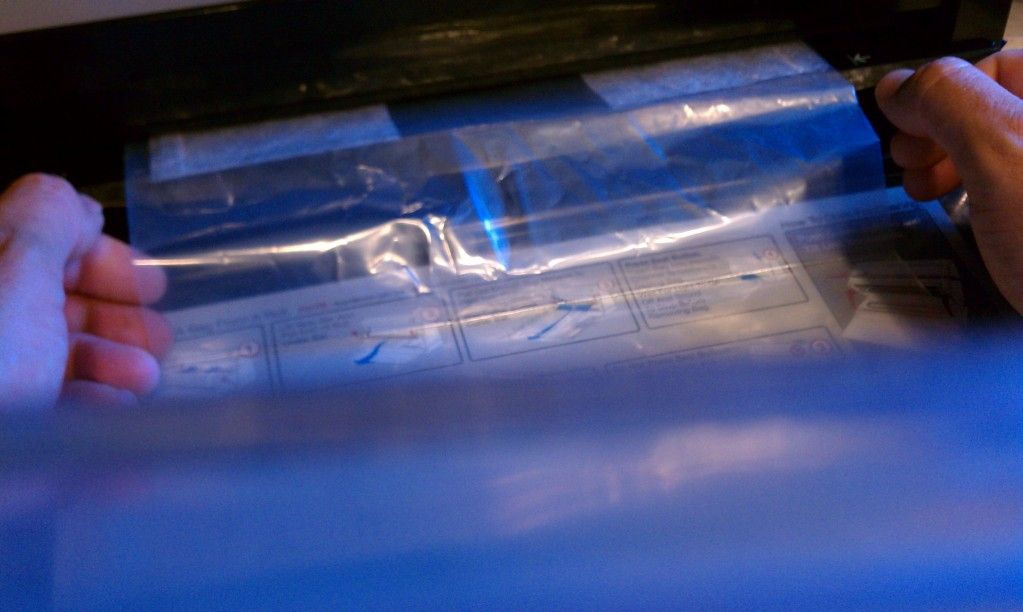
After several minutes of cussing to get the pieces of fabric in place while at the same time sliding the bag into the sealer I finally got it... on the first try ;)

IMAG2275.jpg


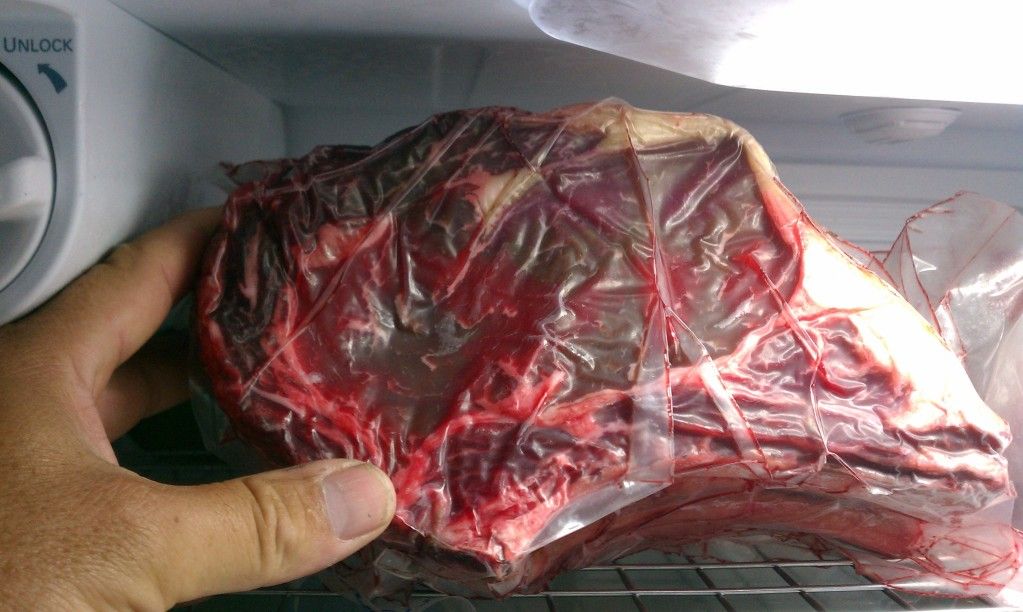
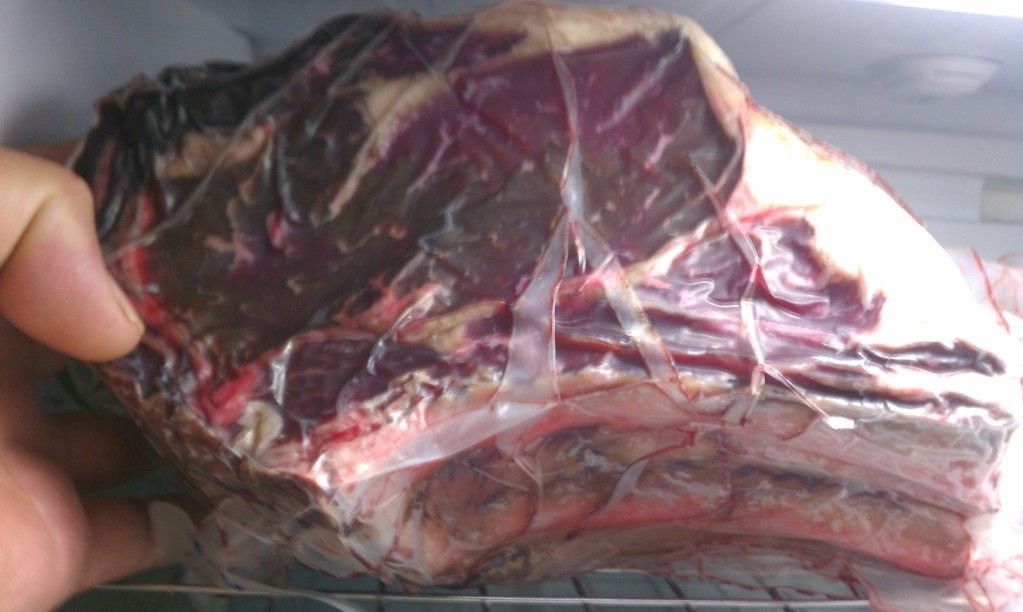
Now into the fridge on a Bradley rack for 30 days...
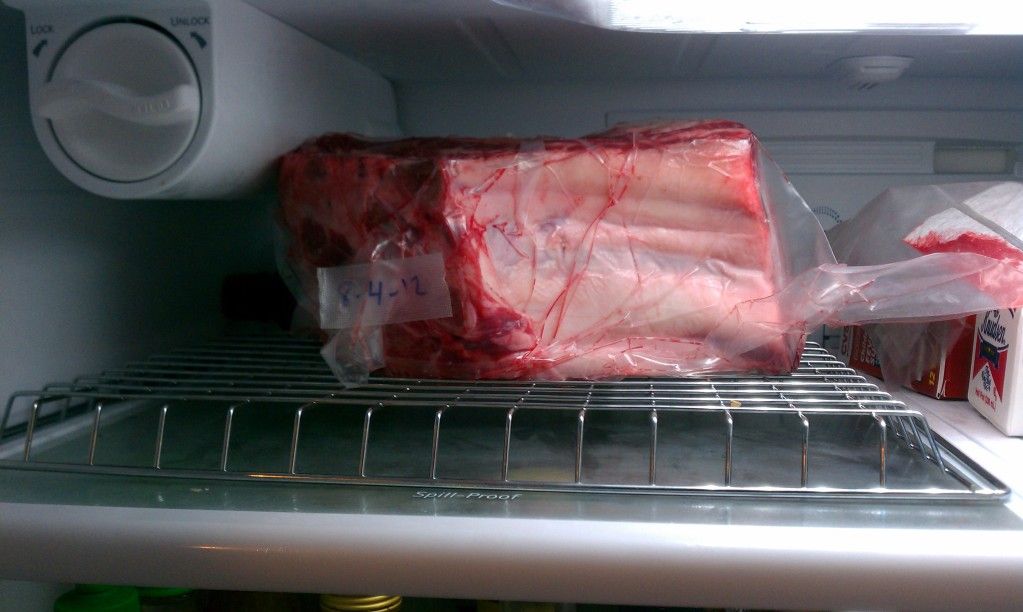
IMAG2276.jpg


Wish me luck :eek:
 

SoDakSmokerGolfer

New member
The seal looks good... Those fabric thingys can be a real pain. You are doing good to get it the first try! You should see a good bond in about three days. You may lose a lot of mass to moisture loss and bark trimming. I just did a 12lbs strip loin for 21 days and lost almost 3lbs.

You will be very happy with the results... Makes beef so tasty
 

MossyMO

New member
Looking good, the fridge rest really tests a persons patience!

Sent from my mobile Etch-A-Sketch
 

wneill20

New member
Can't wait for the time to pass. Always wanted to try this but the garage fridge is to used to much to maintain a consistent temp.
 

ACW3

New member
I'll be following this post with great interest. I may have to give this a try, too.

Art
 

Moomtaz

New member
I have to admit that I know nothing about this technique. Is there anything you would recommend I read or watch to gain a better perspective?
 

roburado

New member
Okay. I'm going to do this sometime. We've got one of those FoodSaver machines which we love. That would be great to do something like this. We just don't have the space right now.
 

muebe

New member
Here is a little pictorial for how to use these bags with the Foodsaver V3800 series(upright models). The video makes it look so easy but it is not. This is how I did it on my first try ;)

First crinkle the end of the bag that you are going to seal with your hand(this is the part that makes it harder to get into the V3800 because it is no longer smooth but you need to do it for a proper vacuum)...

IMAG2290.jpg


Now take the mouse vac material(sold separately from the bags) and cut a piece in half...

IMAG2288.jpg


IMAG2289.jpg


Then insert a piece on each end of the bag where the material is almost touching the opening of the bag and flush against each edge of the bag...

IMAG2292.jpg


Now lift the top of the food saver up using the two release buttons just like you open it when cleaning the moisture collection tray inside the unit. Then place the end of the bag just inside the unit before it touches the paddle that turns the unit on when you slide the bag all the way in...

IMAG2293.jpg


Now gently close it on top of the bag. The bag should be just inserted into the unit...

IMAG2294.jpg


Now using your thumbs on each end grab the fabric and bag. Now slowly slide the bag into the unit like you would a regular bag just more gently...

IMAG2295.jpg


IMAG2296.jpg


Once the food saver starts up verify it is pulling vacuum. Then use you hands to help move air out of the bag for a tight bond with the meat. If you do it right the food saver will reach full vacuum, stop, and then seal. I then lifted the unit up again using the release buttons and lifted the bag off the sealer carefully so I did not tear it. Keep in mind that these bags are much thinner material than the regular bags so you need to be gentle when handling them ;)
 

SoDakSmokerGolfer

New member
Now that looks like the start of a vey good bond... Should be down hill from here! I can't wait for you to dig in to those in a few short weeks. The waiting is really the hardest part.
 
Top Bottom